Tuesday, December 6, 2011

Humpty Dumpty

Yesterday started off as an ordinary day; but I ended up at Urgent Care at Scripps Clinic with a broken right shoulder.  I'm managing; typing with my left hand and not being able to fasten or unscrew anything, but I think this will be my life for the next 6 weeks, so if you don't see me posting, it's because I am not able to.

Wishing you all a joyous holiday season!  Diane

Monday, December 5, 2011

'Tis the Season


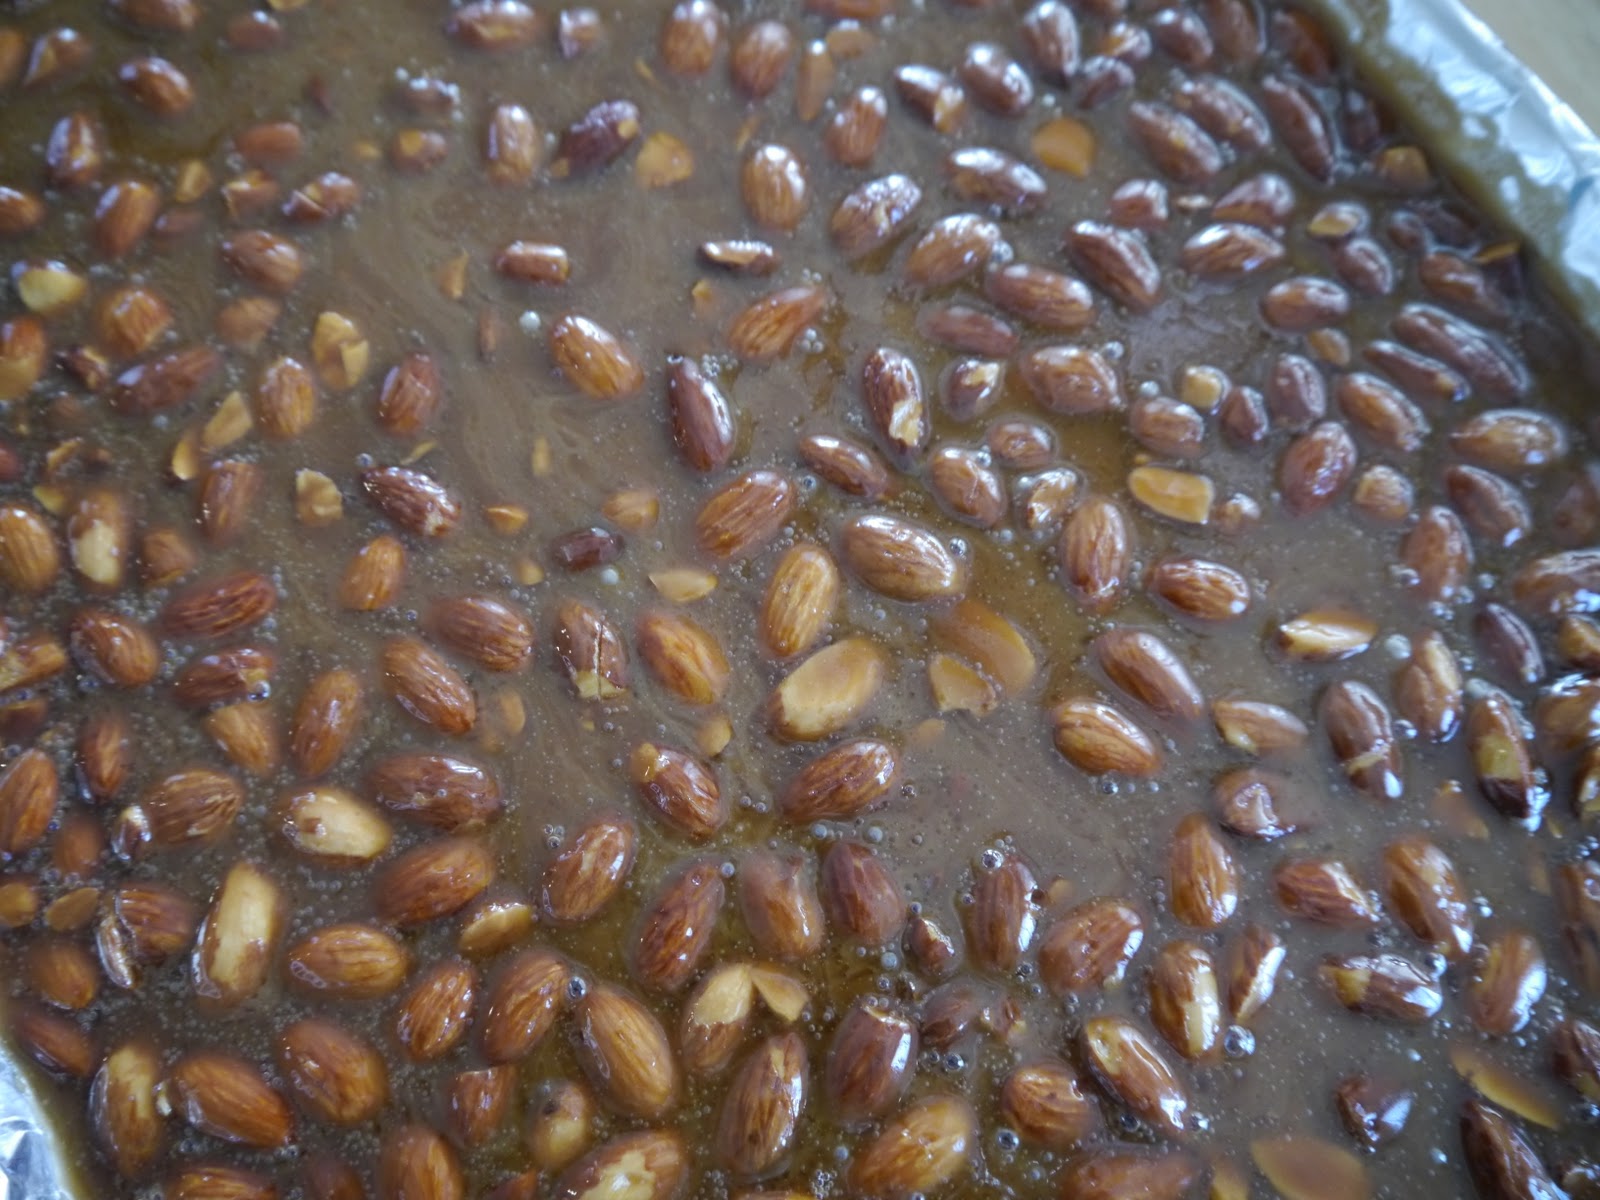
 Every year at this time Chez Phillips smells like butter, sugar and chocolate; I'm making toffee.  A friend taught me this recipe years ago, and I continue to make it because my family and friends expect it, and it gets me into the holiday spirit. Yesterday I finished three batches; fortunately there are no tears in it, because the Chargers didn't play....they play tonight.  Although the recipe is simple, it takes some watching; allow yourself about 45 minutes for the first part...it can take longer, or it can be shorter, depending on your stove and ingredients.  I will give you a short list of do's and don'ts at the end. 

Christmas Toffee
Makes One 1/4 sheet pan

1 pound salted butter
3 cups granulated sugar
3 cups whole almonds
12-ounces semi-sweet or bittersweet chocolate (this is a matter of taste---I just don't recommend one of the high percentage of cacao chocolates or chocolate chips which are formulated not to melt)

Line a sheet pan with aluminum foil and set aside on a cutting board or heat proof pan.  
In a large microwaveable bowl, melt the butter.  Stir in the sugar and cook for 6 minutes on high.


While the butter and sugar are cooking chop 2 1/2 cups of the almonds and set aside.  Finely chop (in the food processor) the remaining almonds to fine dust and set aside.


 Cook the sugar and butter mixture an additional 6 minutes in the microwave; at the 4 minute mark, preheat a heavy bottom saucepan on the stove top over medium heat.  Using oven mitts, grasp the bowl, and pour into the preheated saucepan, and turn the heat up to medium high (this will vary with the stove)  Stir the mixture constantly---it may separate, but keep on stirring.  The toffee will turn a dark caramel color, at this point, stir in the almonds (sometimes this will bring the separated mixture together, but don't give up!) and continue to stir until the mixture comes together and is a dark amber color.
Pour the hot mixture into the sheet pan, and allow to cool.

Allow the pan to cool, then clean with HOT water to get off any excess hardened toffee. 
When the toffee is cooled, melt 6 ounces of chopped chocolate (I used Scharffenberger) either on the stove top in double boiler, or in the microwave (about 2 minutes)  spread over the top of the toffee in an even layer and sprinkle with some of the almond dust.


Wait until the chocolate has set (depends on the heat of your kitchen--2 to 6 hours) and turn the toffee out onto another sheet of foil.


Melt the remaining chocolate and sprinkle with the dust.  Wait until the chocolate is completely set before breaking into pieces.  I use a clean table knife and a meat pounder to chisel it into pieces.  Wrap in airtight containers and give as gifts. 


Do's and Don'ts

  • Use aluminum foil, parchment will melt
  • Use a silicone spoon to stir, wooden spoons tend to take on flavors from other dishes, and silicone stands up to the heat
  • Use a heavy bottom, 3 to 5-ply stainless steel pan (non-sticks tend to add water to this)
  • Use high quality chocolate; I use Scharffenberger, but Lindt, Ghirardelli and Guittiard will all work here
  • Never fill the hot pan with cold water after your spread the toffee into the sheet pan; it will ruin even the most expensive pan (how do I know this you ask---experience is a painful teacher!) 
  • There are a myriad of containers to use here, simple food safe plastic bags decorated with seasonal stickers, fancy tins, paper boxes---you can find these at The Container Store, Michael's, or your local gourmet retailer and this year I'm shopping local to support small businesses.  
I'll be back tomorrow with some dynamite cookie recipes, because that is next on this Elf's list!

Friday, December 2, 2011

My New Best Friend

My friends at Fagor are at it again; they have come up with the ultimate machine!  This is the multi-cooker; a pressure cooker, rice cooker and slow cooker all in one.  A great design, kind of like a cousin to R2D2 of the Star Wars movie, it even beeps at you, it's a great machine to have in your kitchen.


Many of my chef friends who have sworn by stove top pressure cookers say that once they have used an electric pressure cooker, they have never looked back.  The electric cookers are the no-brainer of pressure cooking, you just set it and forget it.  The interior is non-stick and is removed easily for cleaning after each use.  It comes with a rack in the bottom for pressure cooking your favorite veggies, or for making creme brulee or pot de creme.
Tonight I made a Bolognese sauce in the multi-cooker, and it was awesome!   This recipe is simple, and gives you enough for 2 meals. 


Speedy Bolognese Sauce
Makes about 5 cups


2 tablespoons unsalted butter
1 large sweet onion, such as Vidalia, finely chopped
2 medium carrots, finely chopped
2 celery stalks, finely chopped
1 pound ground veal
1/2 pound lean ground pork
1 1/2 teaspoons salt
1/2 teaspoon freshly ground black pepper
1/4 teaspoon freshly grated nutmeg
1/2 cup beef broth
One 28-ounce can crushed tomatoes with their juice
1 cup heavy cream
1/4 cup finely chopped fresh flat-leaf parsley

  1. In the pressure cooker, melt the butter over  medium high heat and sauté the onion, carrot, and celery for 2 minutes to soften the onion. 
  2. Add the veal and pork, sprinkle with the salt, pepper, and nutmeg, and cook until the meat is no longer pink. 
  3. Stir in the beef broth, tomatoes, and cream. Lock the lid in place and cook 5 minutes at high pressure.
  4. Release the pressure naturally and remove the lid, tilting the pot away from you to avoid any escaping steam. 
  5. Skim off any excess fat on the top of the sauce and stir in the parsley and serve over pappardelle, or tortellini.
  

Wednesday, November 30, 2011

Chasing Moments


This week I received word that a friend had died; he had been ill for a while, and lived in Europe, and although I knew this news would come someday, I was surprised by how hard it hit me.  I've said before that death and I have a dance we do....I've lost plenty of people in my life, and each one is still tied to me with memories, letters, thoughts or postcards in my mind.  We creative types sometimes over think things, and it gets us into trouble, dragging us to places we have no business being; but thinking about Robert, and his life, and how many people we had in common, also had me thinking about the last time I saw him and how genuinely happy he was to see me. Although I know he would have preferred the company of Dr C so they could talk history and politics, he was his gentlemanly self with a twinkly smile, and a rapier wit.


 As I have let my mind wander, I thought back over the last 2 weeks while our children were here visiting; we had many moments with our granddaughter Poppy that I will remember, but I fear they will only be photos on a screen for her in later years.  How do we make those moments last in our mind; how are we our best selves every minute of the day?....I admit to losing it a couple of times while everyone was here....not a pretty picture, and one I wish I could erase but it's there, and the only thing I can do is hope and pray that I will be better the next time, living each day as best I can, honestly, and with humility.
Losing our friends, and family brings the reality of our own lives into sharper focus.  I've been struggling lately with the fact that there is no next book on the horizon, and although I love what I do, my focus has been somewhat blurred, and I'm not sure what that means.  Losing Robert has put that all into perspective for me...it's not about what I do, it's how I do it, making each one of those moments in time shine. 
I'll be back later this week with some recipes, and thoughts on gift giving for the holidays, until then, hug your loved ones....life is precious, and all too often we ignore it. 

Monday, November 21, 2011

In the Bag


My friends at Specialty Produce put together another amazing bag for us last week, and the Great News class was so much fun to teach!  If you bought the bag and haven't used all your fruits and veggies, here are a few more recipes to get you through the week.  
Jerusalem Artichoke and Sierra Gold Potato Gratin
Serves 6 to 8

1 pound Jerusalem artichokes (sunchokes) scrubbed and cut into 1/2-inch slices
1 pound Sierra Gold potatoes, scrubbed and cut into 1/2-inch slices
1 1/2 cups whole milk
1 cup heavy cream
1 clove garlic, minced
2 leeks, cleaned, and finely chopped, using the white and tender green parts
2 teaspoons finely chopped fresh thyme
6 drops Tabasco
1 1/2 cups finely shredded Gruyere or imported Swiss cheese
1/4 cup finely grated Parmigiano Reggiano

1.     Preheat the oven to 350 degrees and coat the inside of a 9-inch baking dish with non-stick cooking spray.
2.     In a large skillet, heat the artichokes, potatoes, milk, cream, garlic, leeks, thyme and Tabasco and cook 5 to 6 minutes, until the vegetables are almost done; they will be firm, but a knife will pierce them easily. 
3.     Transfer the vegetables to the prepared pan, and sprinkle with the cheeses. 
4.     Bake the gratin for 30 to 40 minutes, until the sauce is bubbling and the cheeses are golden brown. Allow to rest for 5 to 10 minutes before serving.  (Great with grilled meats, chicken, or seafood)

Roasted Jerusalem Artichokes
Serves 6

3 tablespoons extra virgin olive oil
2 garlic cloves, minced
Grated zest of 1 lemon
1 pound Jerusalem artichokes, peeled and cut into 1/2-inch wedges
1 bay leaf

In a large skillet, heat the oil over medium high heat and add the garlic and lemon zest, and sauté for 30 seconds until the garlic is fragrant.  Add the artichokes and bay leaf, cover and cook for 15 to 20 minutes, until the artichokes are softened.  Remove the cover, and cook another 5 minutes over high heat, to evaporate the juices, and crisp up the outer edges of the artichokes.  Serve immediately. 
Satsuma-cello
Makes 3 quarts
Satsuma Mandarins are amazing, sweet nuggets that are delicious all by themselves, to open and eat anytime for a snack, but the people at Southern Living gave me the idea to try them in a homemade Limoncello-like liqueur.  Giving them all the credit, this is the recipe that appeared in this month's issue.
The recipe is easily halved, if you only want to make a small batch.

20 Satsuma mandarin oranges
2 (750 milliliter) bottles vodka
4 cups sugar

  1. Peel the oranges using vegetables peeler, reserving flesh for another use  
  2. Scrape bitter white pitch from the rind in a large glass pitcher or 3 quart jar; pour vodka over strips.  Cover and let stand at room temperature 7 to 10 days.  
  3. Bring sugar and 5 cups water to a boil in a large saucepan over medium heat.  
  4. Reduce heat to low, and simmer stirring occasionally, 1 minute or until sugar is dissolved.  
  5. Remove from heat; let stand 30 minutes.  
  6. Pour syrup into vodka mixture.  Cover and let stand at room temperature for 24 hours.  
  7. Pour the mixture through a fine mesh strainer into another pitcher, discarding orange rind strips.
  8. Pour into bottles or Mason jars; seal and chill 4 hours before serving.  Store in the refrigerator up to 1 month. 
As you get ready for Thanksgiving, I hope that you are enjoying the moments with your family and friends.  A little wine, a bit of whimsy and lots of good cheer help to fill holidays with good times and great memories.  Salute!