Showing posts with label Scharffenberger chocolate. Show all posts

Monday, December 5, 2011

'Tis the Season


 Every year at this time Chez Phillips smells like butter, sugar and chocolate; I'm making toffee.  A friend taught me this recipe years ago, and I continue to make it because my family and friends expect it, and it gets me into the holiday spirit. Yesterday I finished three batches; fortunately there are no tears in it, because the Chargers didn't play....they play tonight.  Although the recipe is simple, it takes some watching; allow yourself about 45 minutes for the first part...it can take longer, or it can be shorter, depending on your stove and ingredients.  I will give you a short list of do's and don'ts at the end. 

Christmas Toffee
Makes One 1/4 sheet pan

1 pound salted butter
3 cups granulated sugar
3 cups whole almonds
12-ounces semi-sweet or bittersweet chocolate (this is a matter of taste---I just don't recommend one of the high percentage of cacao chocolates or chocolate chips which are formulated not to melt)

Line a sheet pan with aluminum foil and set aside on a cutting board or heat proof pan.  
In a large microwaveable bowl, melt the butter.  Stir in the sugar and cook for 6 minutes on high.


While the butter and sugar are cooking chop 2 1/2 cups of the almonds and set aside.  Finely chop (in the food processor) the remaining almonds to fine dust and set aside.


 Cook the sugar and butter mixture an additional 6 minutes in the microwave; at the 4 minute mark, preheat a heavy bottom saucepan on the stove top over medium heat.  Using oven mitts, grasp the bowl, and pour into the preheated saucepan, and turn the heat up to medium high (this will vary with the stove)  Stir the mixture constantly---it may separate, but keep on stirring.  The toffee will turn a dark caramel color, at this point, stir in the almonds (sometimes this will bring the separated mixture together, but don't give up!) and continue to stir until the mixture comes together and is a dark amber color.
Pour the hot mixture into the sheet pan, and allow to cool.
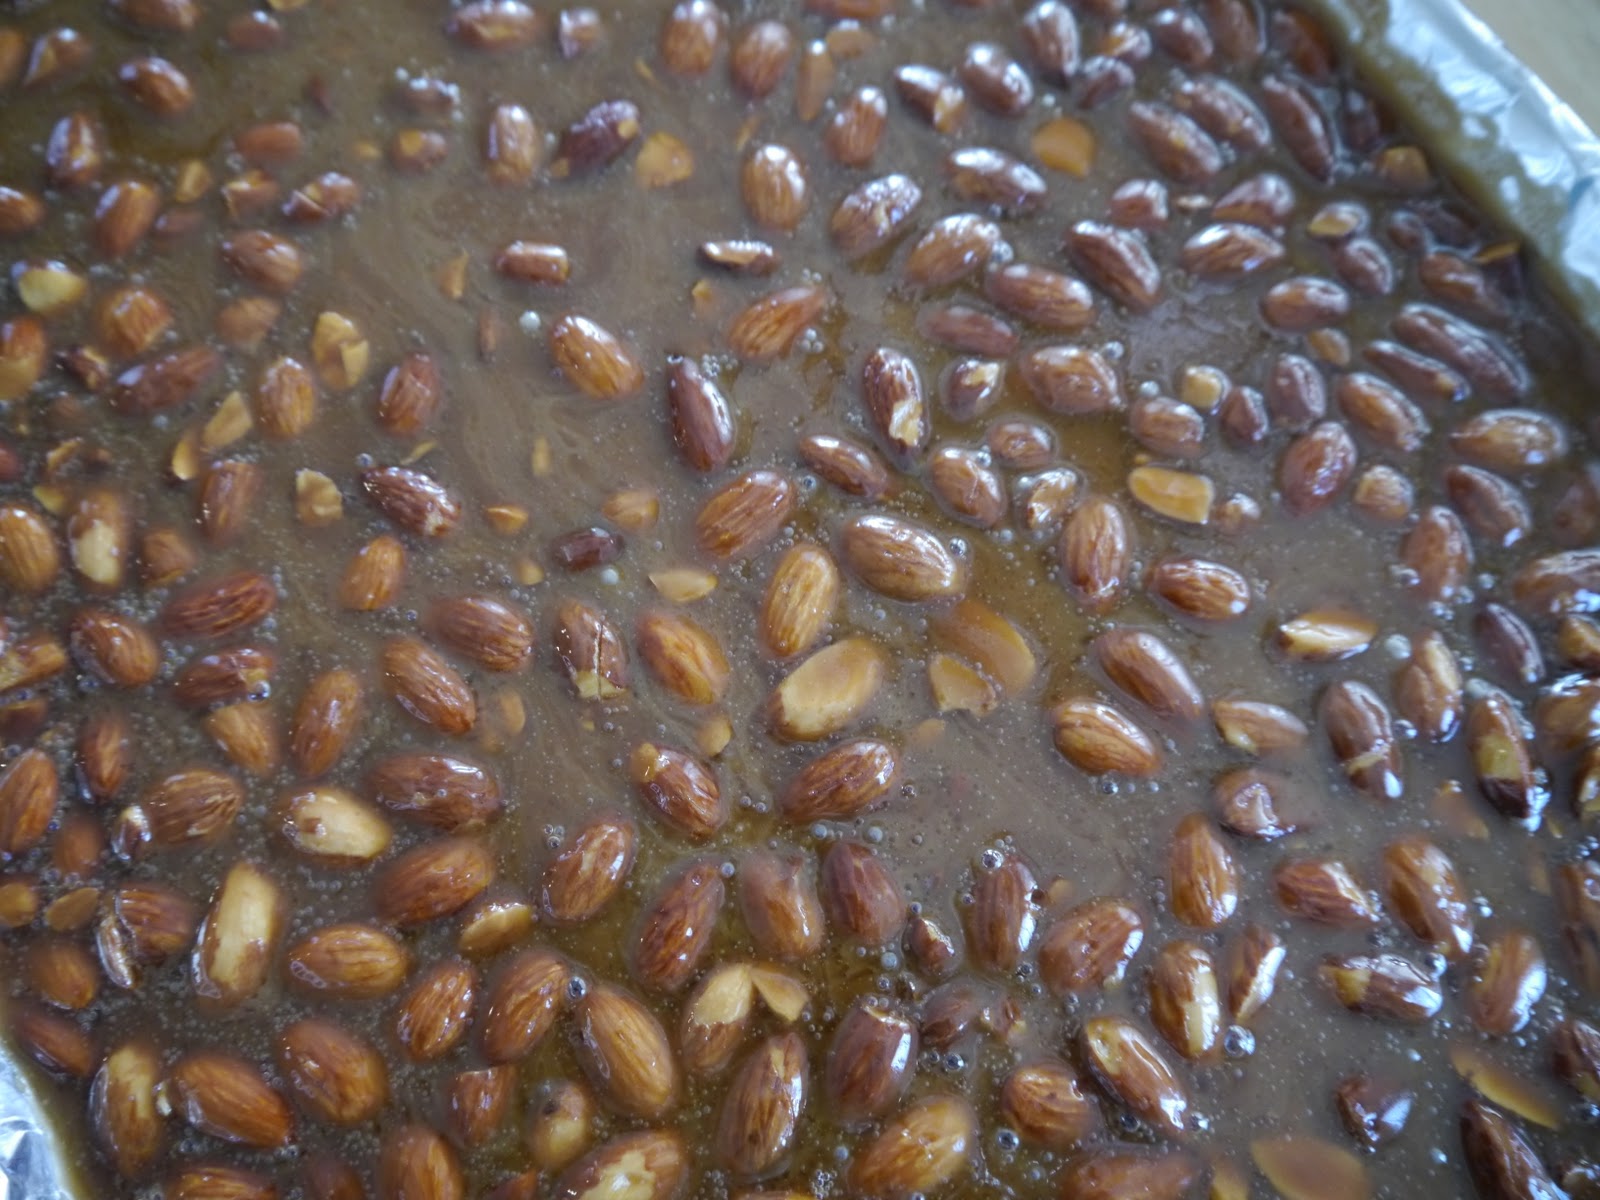
Allow the pan to cool, then clean with HOT water to get off any excess hardened toffee. 
When the toffee is cooled, melt 6 ounces of chopped chocolate (I used Scharffenberger) either on the stove top in double boiler, or in the microwave (about 2 minutes)  spread over the top of the toffee in an even layer and sprinkle with some of the almond dust.


Wait until the chocolate has set (depends on the heat of your kitchen--2 to 6 hours) and turn the toffee out onto another sheet of foil.


Melt the remaining chocolate and sprinkle with the dust.  Wait until the chocolate is completely set before breaking into pieces.  I use a clean table knife and a meat pounder to chisel it into pieces.  Wrap in airtight containers and give as gifts. 


Do's and Don'ts

  • Use aluminum foil, parchment will melt
  • Use a silicone spoon to stir, wooden spoons tend to take on flavors from other dishes, and silicone stands up to the heat
  • Use a heavy bottom, 3 to 5-ply stainless steel pan (non-sticks tend to add water to this)
  • Use high quality chocolate; I use Scharffenberger, but Lindt, Ghirardelli and Guittiard will all work here
  • Never fill the hot pan with cold water after your spread the toffee into the sheet pan; it will ruin even the most expensive pan (how do I know this you ask---experience is a painful teacher!) 
  • There are a myriad of containers to use here, simple food safe plastic bags decorated with seasonal stickers, fancy tins, paper boxes---you can find these at The Container Store, Michael's, or your local gourmet retailer and this year I'm shopping local to support small businesses.  
I'll be back tomorrow with some dynamite cookie recipes, because that is next on this Elf's list!

Tuesday, October 19, 2010

A Few of My Favorite Things


It's been raining here all weekend, and I haven't felt like cooking, except for the hot chocolate you see above, so I thought I'd share a few of my favorite ingredients with you.  

For baking, I love Scharffenberger Chocolate; it is divine!  Bakers' Joy is a non-stick cooking spray that incorporates fat and flour in the spray, so nothing sticks---love that!

King Arthur Flour; I am loving the organic all-purpose but have used the unbleached (non-organic) for years.  Check out their website here, it's awesome, with great products and recipes.  You can find the flour at most large supermarkets.  I haven't
forgiven Trader Joe's for discontinuing it!


B.R. Cohn (former manager of the Doobie Brothers) has a winery in Glen Ellen, California, but I love their vinegars!  The Pear Chardonnay is awesome and the 25 year old Balsamic is a bargain at the price, and is syrupy and delicious!  I love Sea Salt (although most commercial salt comes from the sea)  These are two of my faves---Cyprus Flaky Sea Salt and Baleine (I use the coarse for grinding)  Salt, like wine, and olive oil has to do with individual taste, and you should choose a salt that tastes clean (many are so processed you get that aftertaste) and has the right salt feel for your tongue.


For risotto, nothing better!


Really good quality olive oil; again, oils are subject to taste, and these are so delicious you could drink them--you can order them here.


Traditionally made Balsamic vinegar is only sold in this shape bottle.  If you buy a balsamic in another shaped bottle, it hasn't been made by the traditional methods and probably has added caramel color and sugar.  You can buy this here.

Caffe Calabria, a local coffee roaster, roasts the best coffee for your espresso machine; I'm addicted.  Cento San Marzano tomatoes are especially delicious, and these come in a glass jar, making them easy to store if you just need a 1/2 cup for a recipe. 

 Barilla is the largest maker of pasta in the world, and if you go into an Italian market, the aisle of pasta is dominated by Barilla, in shapes you have never seen before; the pasta cooks right every time, they now make whole grain pastas, and terrific no-cook lasagna noodles. 
Finally, nutella, I can't count the ways I love this smooth, creamy, chocolate spread laced with hazelnuts.  Move over peanut butter, this is my new fave on toast!

I'll be back tomorrow with a Take 5 and some other fun ideas.  Have a wonderful day!

Monday, October 11, 2010

Chocolate Kind of Day


Today was one of those days where I felt like baking; this doesn't happen often.  Bakers are scientists, and I'm definitely not a scientist.  But there are some days when making a pan of brownies for an office staff, just feels good. 
I look at my Mondays as my pay it forward days---I like to do things for others on most days, but Mondays seem to be the day when I do something specific, not just the everyday kindness of letting someone go ahead of me in line at the supermarket, or helping someone heft a heavy bag into the overhead bin on a flight. 


Today the recipients were my Physical Therapy office; everyone there is so kind, caring and have helped me with significant problems over the past few years.  I'm very grateful, and rather than take them all out to dinner, I made a pan of the World's Greatest Brownies.  You may think your brownies are the Worlds' best, but I have news for you--these are definitely the best!

World's Greatest Cream Cheese Brownies
Makes 24 two-inch squares

Filling

One 8-ounce package cream cheese, softened
1/3 cup sugar
1 large egg
1/2 teaspoon vanilla paste or extract

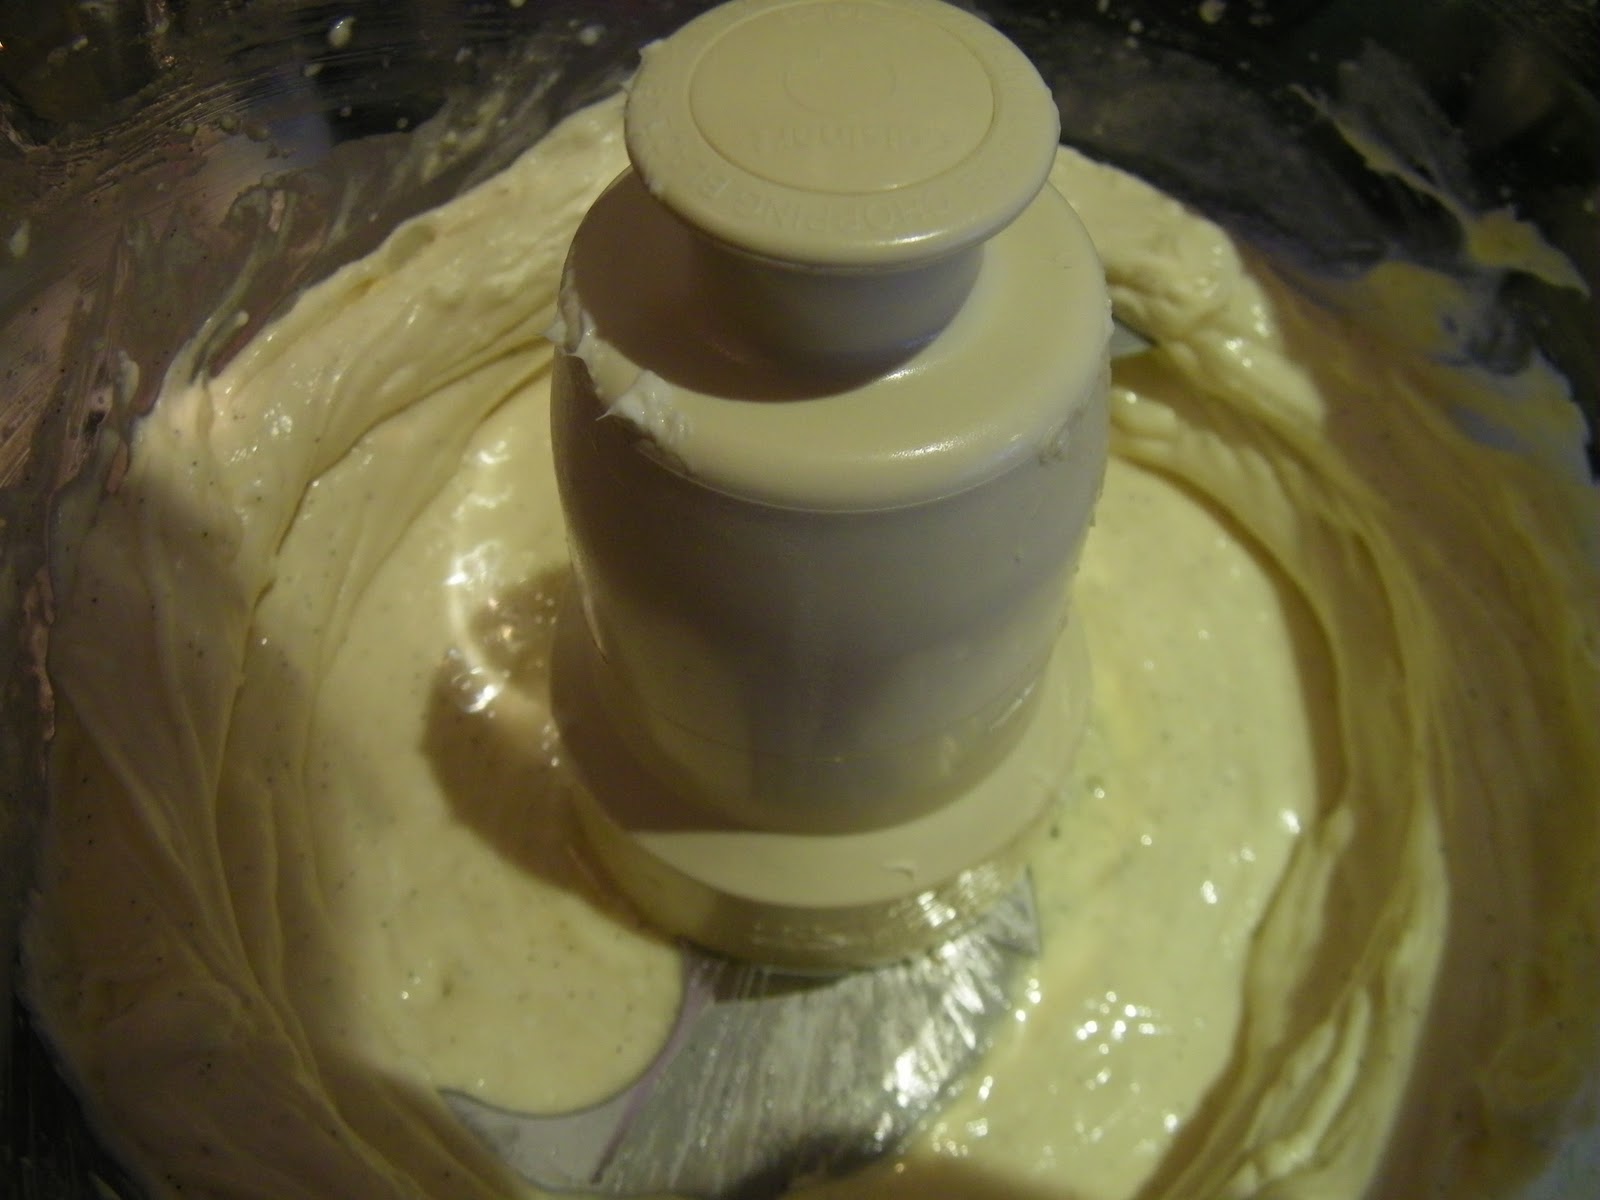
In a food processor combine the ingredients and process until smooth.  Remove from the food processor and set aside while making the brownie batter.


Brownie Batter

1 cup (2 sticks) unsalted butter, softened
2 cups sugar
4 large eggs
1 cup unsweetened cocoa powder
1 cup unbleached all-purpose flour

Preheat the oven to 350 degrees.  Coat the inside of a 13-by-9-inch pan with non-stick cooking spray.
Combine the butter, sugar, and eggs in the same food processor, and process until smooth.  Add the cocoa and pulse on and off 3 to 4 times.  Add the flour, and pulse until the white disappears.  Spread half of the batter in the prepared pan. 

Spread the cream cheese filling over the chocolate batter.

Spread the remaining brownie batter over the cream cheese layer. 


Bake the brownies for 35 to 40 minutes, or until a skewer inserted into the center comes out with some crumbs adhering to it. 


Frosting

When the brownies come out of the oven, prepare the frosting.

1 cup sugar
5 tablespoons unsalted butter
1/3 cup milk
6-ounces semi-sweet chocolate coarsely chopped

In a saucepan, heat together the sugar, butter and milk.  Bring to a boil, and boil for 1 minute, stirring constantly. 


 Remove the pan from the heat, and add the chocolate, stirring until the chocolate is melted.


Spread the frosting over the warm brownies.

Cut the brownies while they are still warm.  If you let the brownies cool, and then cut them, the cream cheese filling will solidify and will not cut evenly. 


The brownies will keep refrigerated for up to 3 days, or freeze well for up to 6 weeks. 

I used Scharffenberger unsweetened cocoa and semi-sweet chocolate for the brownies; definitely a splurge, but well worth it for the amazing flavor. 
I hope you enjoyed your day and I'll be back tomorrow with more. 

Thursday, August 5, 2010

Seeing Red

For the past two years, I've been on a quest to find the perfect red velvet cake; a slew of twenty and thirty-something birthdays, and baby showers have had me looking for the perfect mix. Red Velvet cake is made red by adding copious amounts of red food coloring to a cake batter with just a tablespoon or two of cocoa powder. The results are either a day-glo red cake (definitely a color not found in nature) or something pink and both have no discernible flavor (kind of like "green" jello) So in my quest I have tried and used many different techniques, but never settled on the "best recipe".
When I found out my friend Eryn loved red velvet cake, I was up to the challenge. First I wanted more chocolate flavor so I went for the gusto with 1/2 cup of plain (not Dutch process) cocoa powder. Then I'd read a Martha Stewart recipe where she suggested using a red frosting gel tint rather than the traditional red food coloring; this gave me a lot of red with a little dab. (loved that) When I mixed the cocoa and the gel together I got a very nice, dark mahogany color, which gave me an idea I was on the right track. Next was whether to use butter, or oil, I opted for oil, since this was a trial run, most cakes made with oil are moist, although butter adds flavor. All the recipes call for buttermilk and white vinegar, which I found redundant, because if you add the white vinegar to whole milk, it sours the milk and you aren't left with a quart of buttermilk that you probably won't use, unless you are into serial cake or biscuit making. Next up, the flour, and I chose cake flour, since it's pretty forgiving, and doesn't seem to make the cake tough if you over mix. If you buy cake flour, store the remainder in an airtight container for up to a year. So I was on my way, to see if I could make an amazing red velvet that wouldn't make your insides glow in the dark, and I think I succeeded.


Batter looks good
Three of my favorite ingredients, Wilton frosting gel tint, Neilson-Massey Vanilla paste, and Scharffenberger cocoa powder


VOILA! The cupcakes are all even in color, and size. I used a large scoop for the batter.


Cream cheese frosting is the only thing to crown these with.


Happy Birthday Eryn!
Red Velvet Cupcakes/Cake
Makes 36 cupcakes or three 9-inch layers
1/2 cup cocoa powder
1 teaspoon red gel frosting tint
2 cups canola oil
2 1/4 cup sugar
3 large eggs
1 1/2 teaspoons vanilla paste or vanilla extract
1 1/4 cup whole milk
2 teaspoons white vinegar
3 1/2 cups cake flour
2 teaspoons baking soda
  1. Preheat the oven to 350 degrees and line 36 cupcake molds with liners or coat with non-stick cooking spray. (If you are making layers, coat the inside of three 9-inch round baking pans with non-stick cooking spray)
  2. In a small bowl, whisk together the cocoa and red coloring, until blended. Set aside.
  3. In the bowl of an electric mixer, on low speed, beat together the oil, and sugar, until blended. Add the eggs one at a time, stir in the vanilla and slowly add the cocoa mixture.
  4. In a 2-cup measuring cup, stir together the milk and vinegar. Add the milk mixture alternately with the flour, mixing on low speed, until the batter is blended (about 3 minutes)
  5. Stir in the baking soda, and pour the batter into the prepared layer pans, or scoop into the muffin tins, filling 3/4 of the way full.
  6. Bake the cupcakes for 20 to 23 minutes, bake the layers for 30 to 35 minutes, until a skewer inserted into the center comes out clean. Cool the cakes completely before frosting.

Cream Cheese Frosting

Frosts 36 cupcakes, or three 9-inch layers

One 8-ounce package of cream cheese, softened

1/2 cup unsalted butter, softened

6 cups confectioners' sugar

1 teaspoon vanilla paste or extract

milk to thin the frosting

  1. In the large bowl of an electric mixer, cream together the cream cheese and butter. Add the sugar, and vanilla, and beat on high speed until the mixture is smooth. If the frosting is stiff, add a tablespoon of milk or water and blend again, adding more liquid as necessary to reach a spreadable consistency. The frosting can be refrigerated for up to 3 days, or frozen for up to 3 months. Bring to room temperature and beat with the mixer before frosting.